
“Where do I start learning Informatica Cloud?”
This is something which I am being asked most frequently in recent times.
So here is a step by step guide to start learning Informatica Cloud.
First of all, to answer the question of where to start learning Informatica Cloud
The best place is to start learning Informatica Cloud is from Informatica itself.
Informatica provides a free Informatica Cloud(IICS) tutorial on Data Integration and 30-day free trial to get hands-on on the Informatica Intelligent Cloud Services environment.
There are few steps that needs to be followed to start your learning journey and I will guide through the process.
1. Create an Informatica Account with your email-id
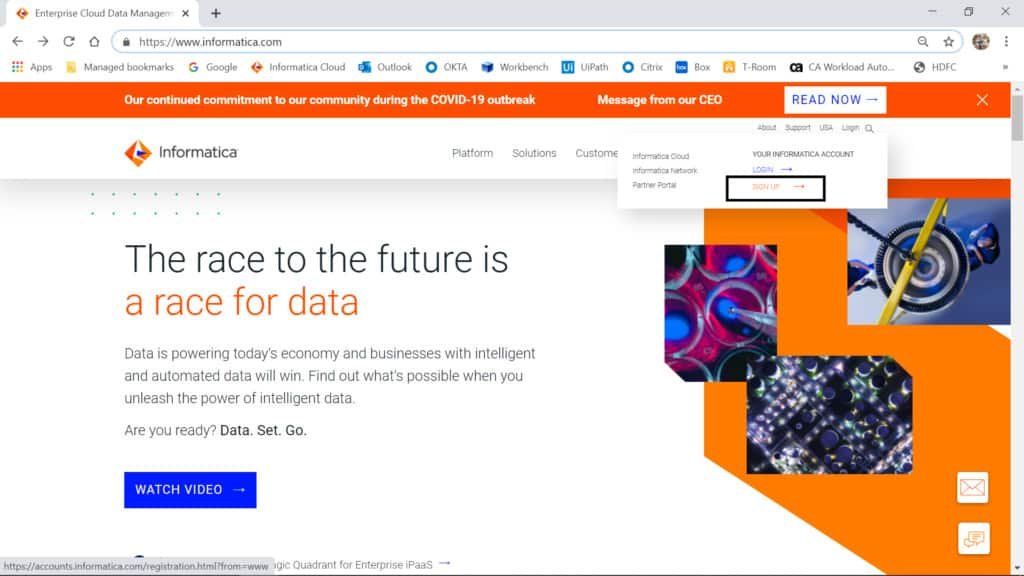
- Navigate to the Informatica site using the below url
https://www.informatica.com/ - Hover over the Login on the right top corner of the page and click on SIGN UP from the drop down menu.
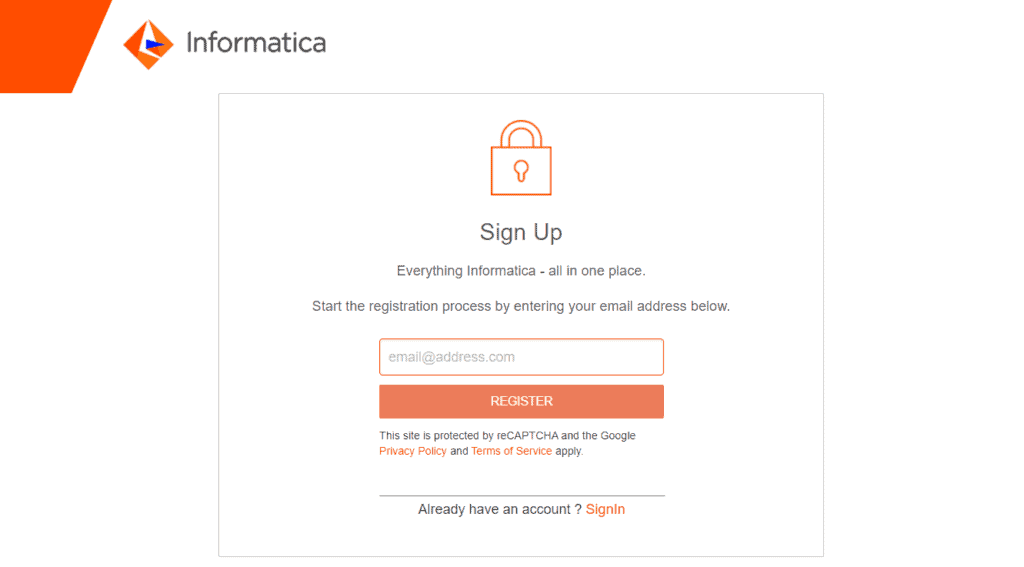
- Enter your email-id and click REGISTER.
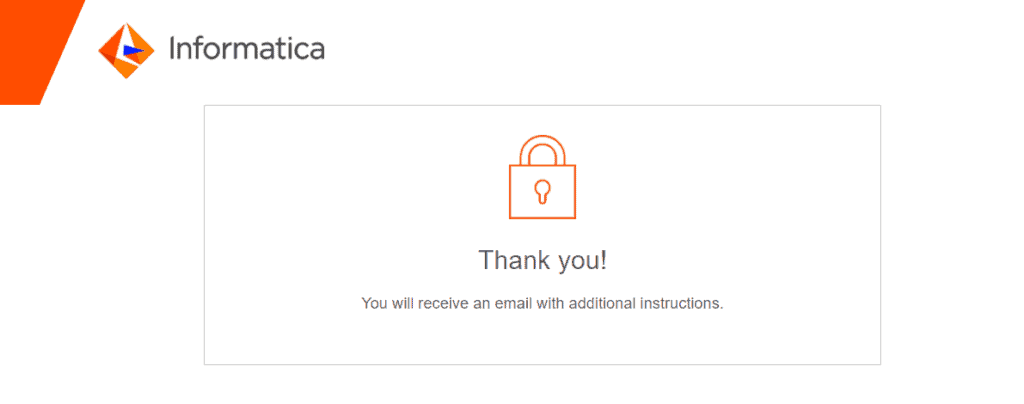
- You should receive a message like this. Check your email for further details.
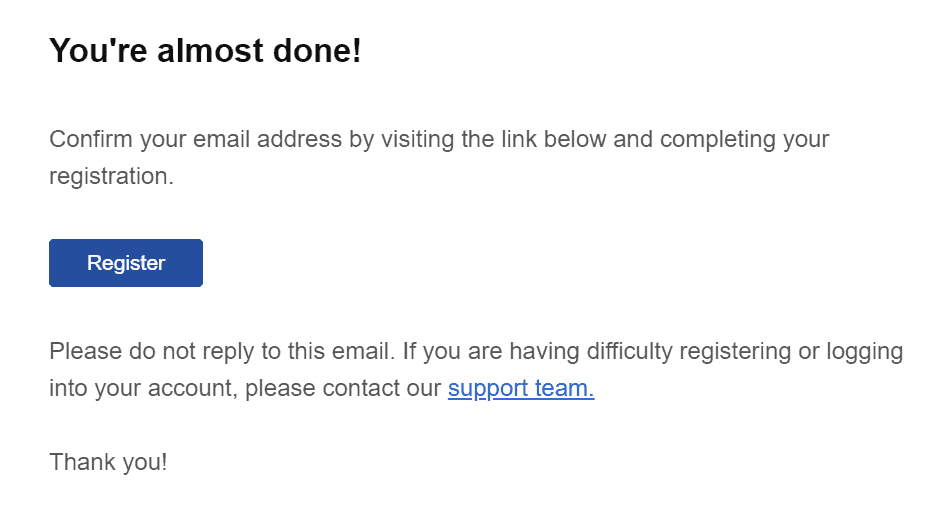
- Click on Register from the email received from Informatica
- You will be prompted to enter your details to create an account. Enter details and click CREATE ACCOUNT. You will be logged into the homepage.

2. Register for free Data Integration course in Informatica University
With the Informatica account that is created we will be able to access the Informatica University also.
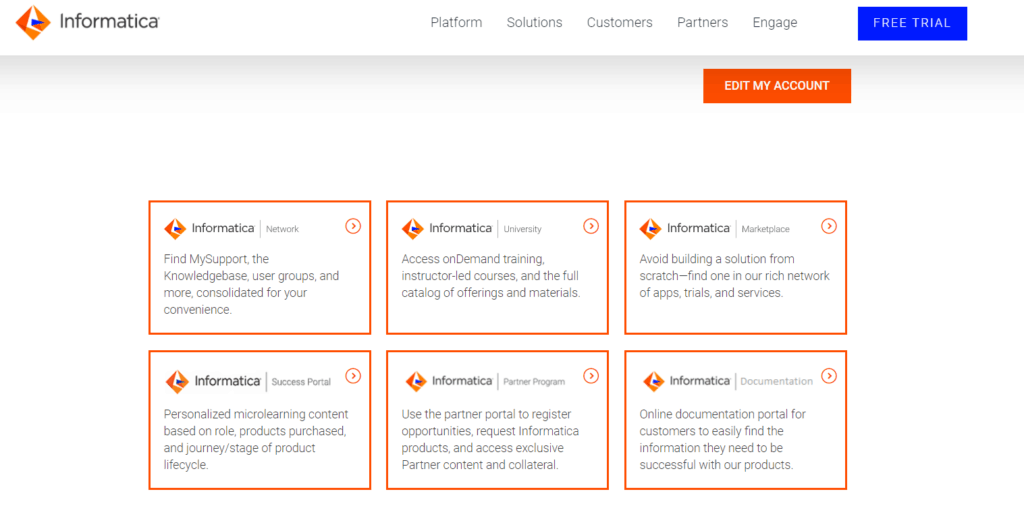
On the home page, click on Informatica University.
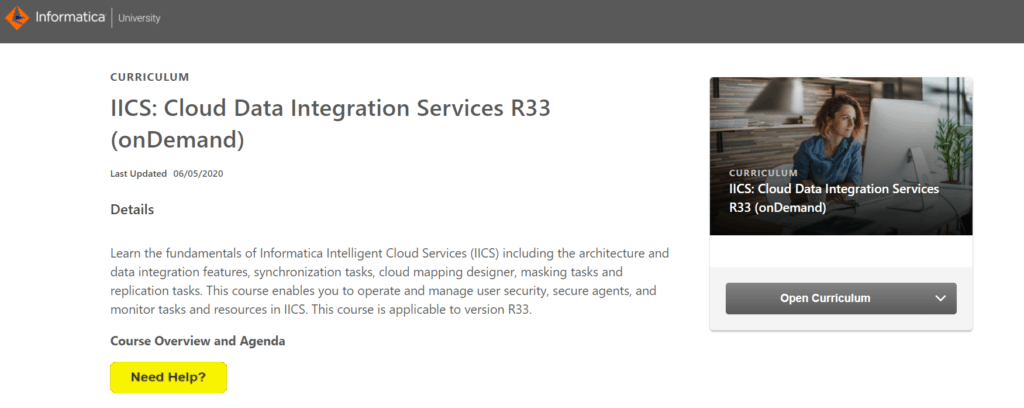
- On the home page type the exact text in the search bar: IICS: Cloud Data Integration Services R33 (onDemand) and click the first result from the drop down.
Note: There is another course which is a paid live training course IICS: Cloud Data Integration Services R33. So make sure you select the onDemand course.
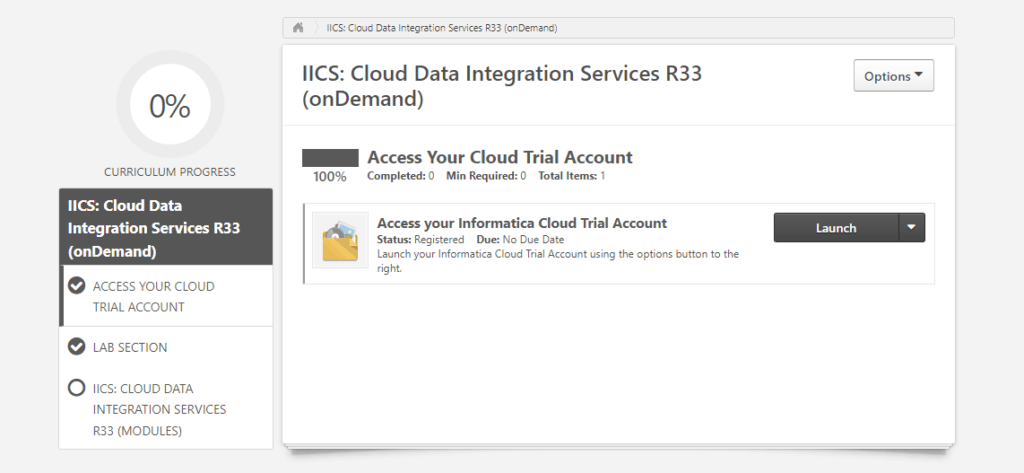
- Click on Open Curriculum
- Once you click on Open Curriculum you will be registered for the course.
The first two sections ACCESS YOUR CLOUD TRAIL ACCOUNT and LAB SECTION will be marked complete by default.
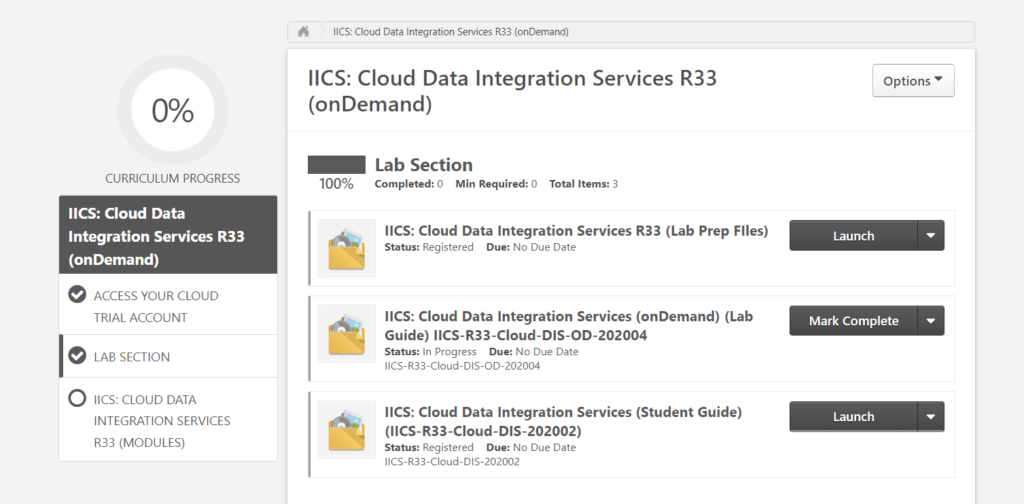
- Click on third section IICS: Cloud Data Integration Services R33 (Modules)
It will open the on demand video section with 21 modules.
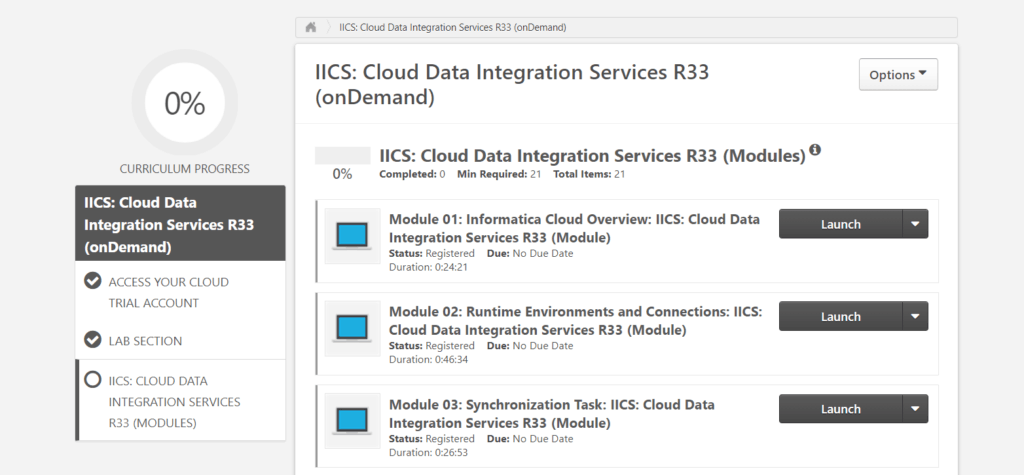
Once you complete all modules, the curriculum progress will be 100% and you will also able to take the certificate of completion.
NOTE: You can also register for Application Integration course for free if you are planning to take Certification exam. Search the course as Cloud Application Integration Services for Developers R33 (onDemand) and register for free.
3. Register for Informatica Cloud 30-day Free Trail Account
3.1 Register for Informatica Cloud Free Trail from OnDemand course
Note: You can register through this method if you are using your corporate email only. The advantage of using this method is you will get access to Cloud Application Integration Environment also.
Click on ACCESS YOUR CLOUD TRAIL ACCOUNT from the left side menu in the on demand course.
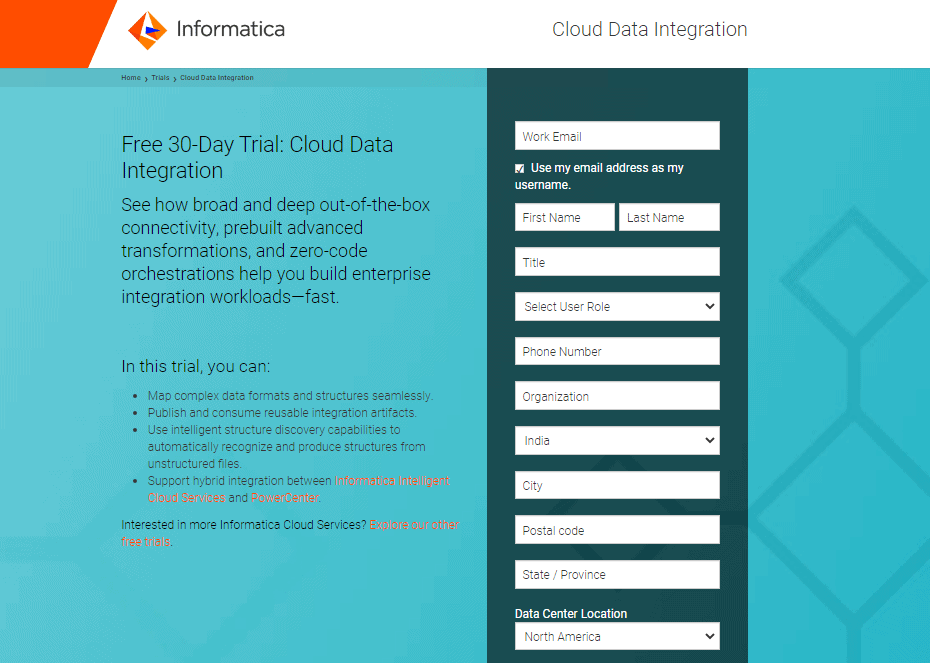
Click on Launch. You will be redirected to Informatica Market Place where in you are asked to fill in the details as shown below.
You can register only if you logged in through your corporate email id. If you are planning to get hands on Cloud Application Integration, use your work email id to register through this process.

3.2 Register for Informatica Cloud Free Trail from Informatica Home page
Go back to Informatica site https://www.informatica.com/
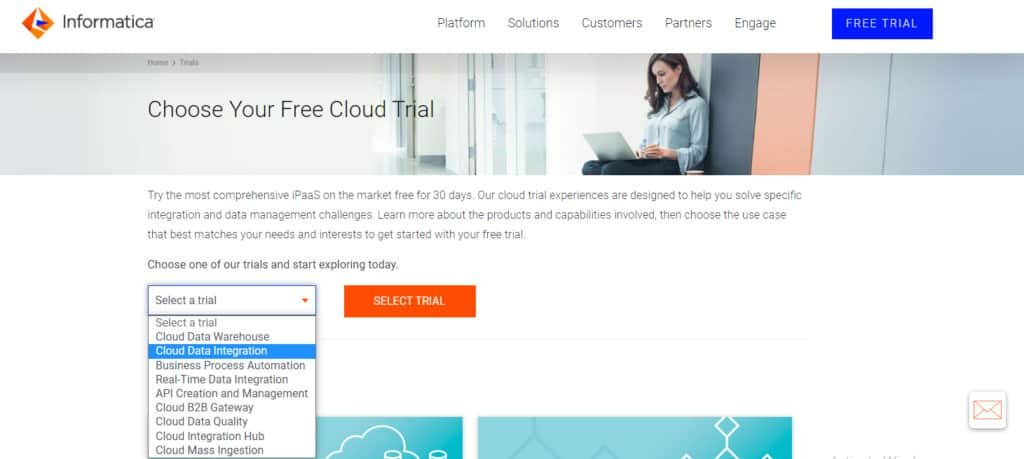
Click on FREE TRAIL

In the next page select Cloud Data Integration and click SELECT TRAIL
Enter details and click START YOUR FREE TRAIL.
You will receive confirmation from Informatica as below
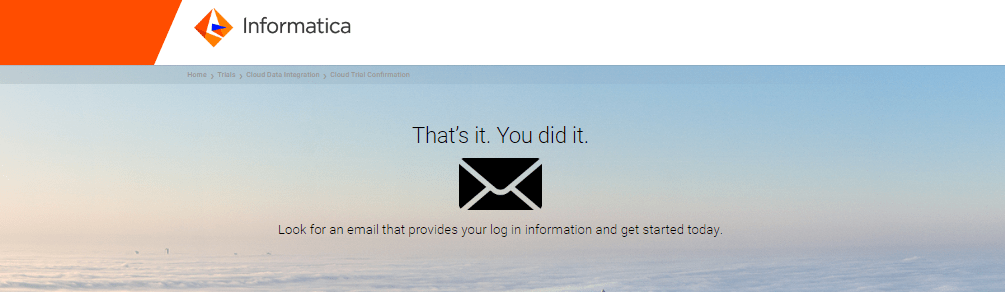
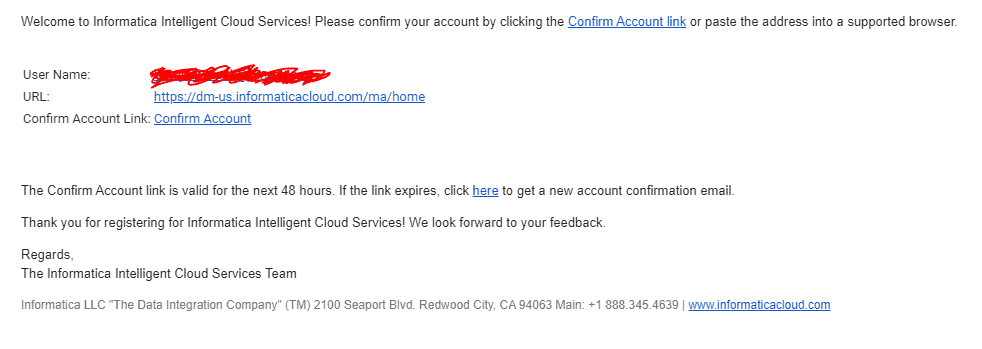
Check your inbox for email from Informatica. Click Confirm Account link.
You will receive the User Name and URL to login to the IICS details.
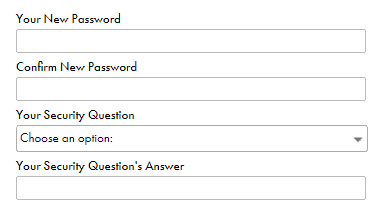
You will be asked to set up password and security question.
After creating your password and security question click Login. After that you will be asked to accept Informatica policy. Accept and continue.
Next you will be asked about their periodic emails and Claire recommendations. Click ok and continue.
Next you will be asked about the source and target systems are you interested in as below to give recommendations on how to work with them.
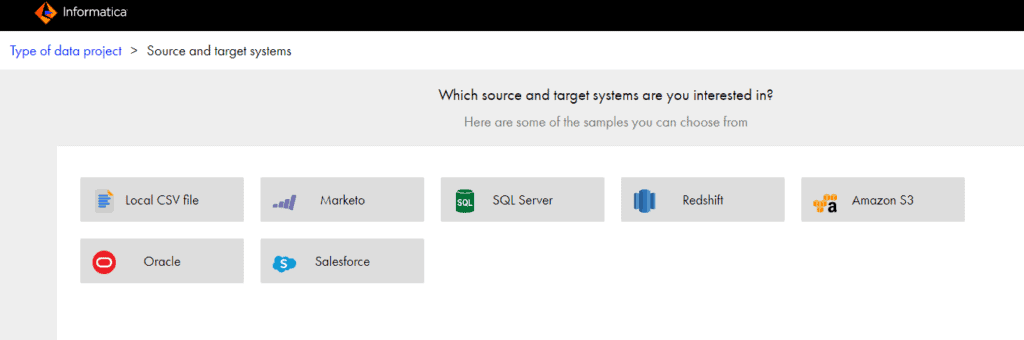
Select the source types you are interested and click continue.
Then Informatica gives some Sample Use Cases. Click do not show this again to continue.
Finally we will arrive at the services page. From your next login onwards this will be your first page you see.
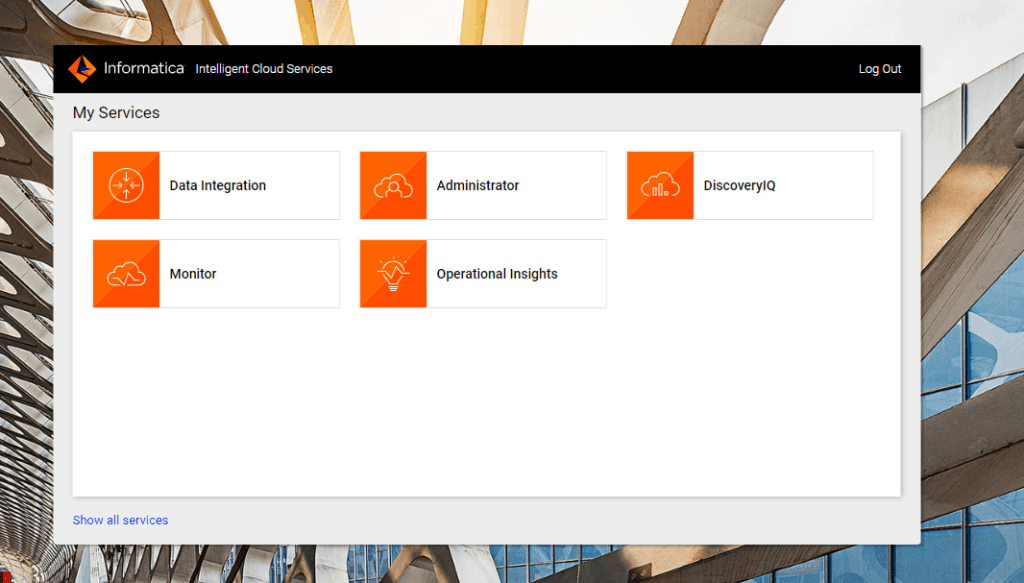
I am not going to explain what these services are and what they do. You will get all those details from the course you registered in earlier step.
I will just continue with secure agent Installation.
4. Setting up the Secure Agent on your machine to practice lab exercises in IICS
If you do not know what Secure Agent is and why is it required, it is fine. Just follow the steps here and complete the set up process. There is detailed module on the secure agent in the course registered.
Just understand that this is an important step to set up your lab environment to access the resources from your machine on IICS.
4.1 Download Secure Agent
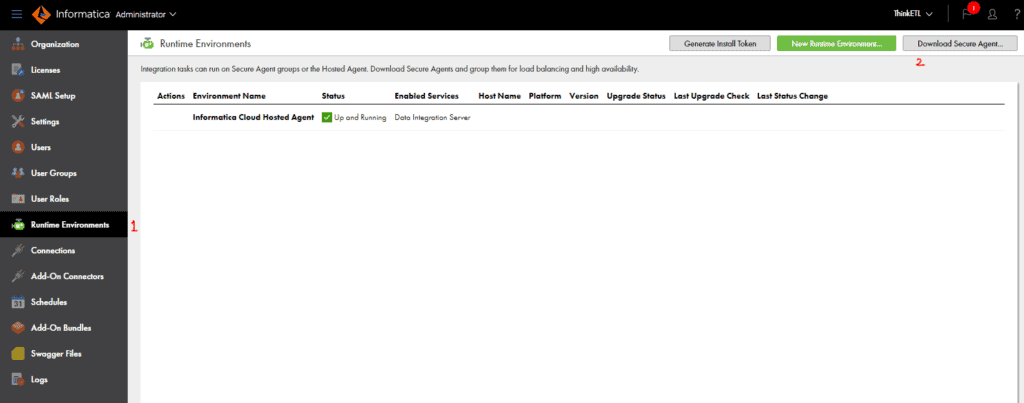
Click on Administrator from My Services.
Go to Runtime Environments and click Download Secure Agent as indicated below.
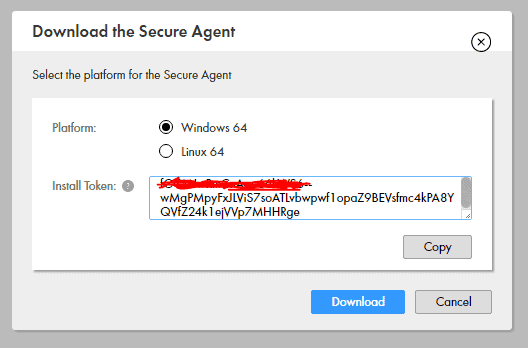
Select the platform, Copy the Install Token and click Download
4.2 Register Secure Agent
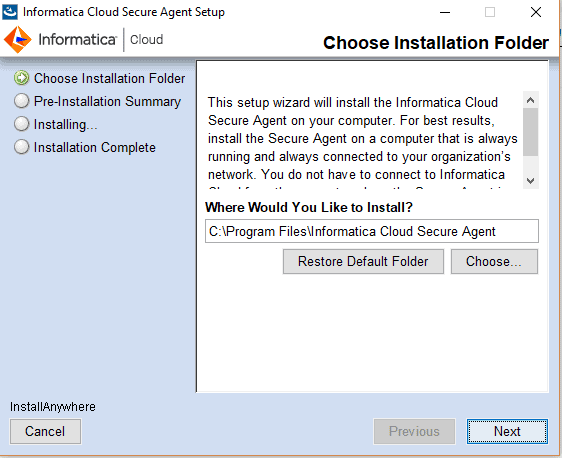
Once the Secure Agent is downloaded, click on the .exe file to run the application.
Select the installation folder and click Next and Install.
You will see below message immediately once the installation is complete.
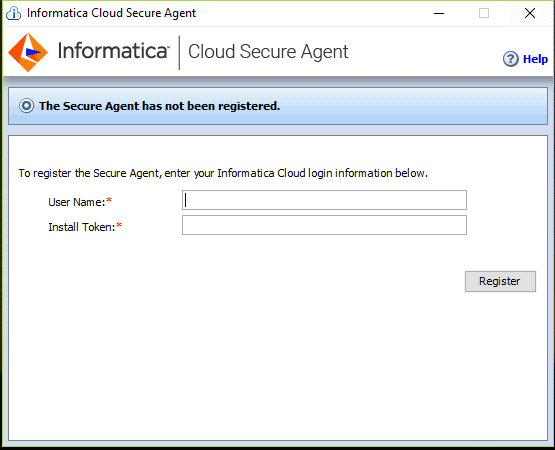
Enter your email Id and the Install token copied from earlier step. If you miss to copy you can still go to Runtime Environments page and click on Generate Install Token to copy again.
Enter the details and click Register. You will see a message like below

4.3 Configure a Login for a Windows Secure Agent Service
The Secure Agent requires read and write permissions on the related directories on your machine while working with Flat File or FTP/SFTP connection types. So we need to configure a login for the machine on which the Secure Agent is installed to allow the Secure Agent to access directories.
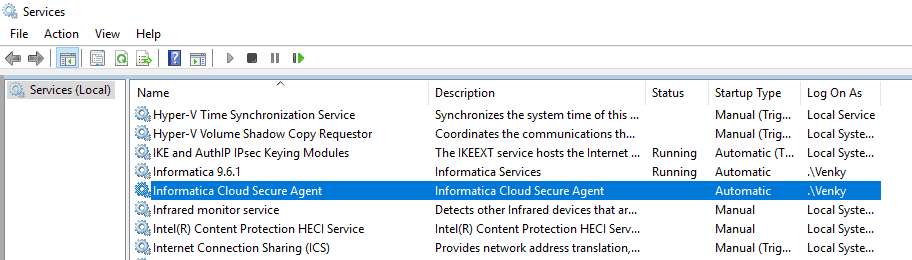
To configure login details Go to Start>Run>services.msc
You will see a page like below. Find Informatica Cloud Secure Agent.
Right click on it and select Properties. Select This account.
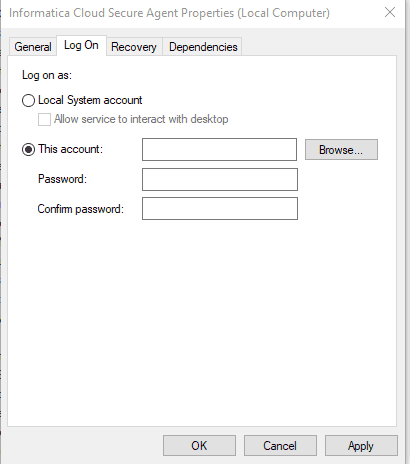
Next click on Browse and enter the username with which you login in to your PC and click Check Names.
Enter details in the Password and Confirm Password. Click Apply and you will see a message as below.
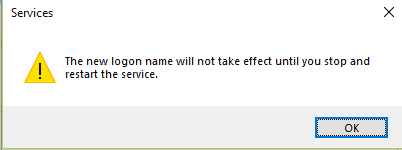
Click ok and Restart the Informatica Cloud Secure Agent service. (Right click>Restart)
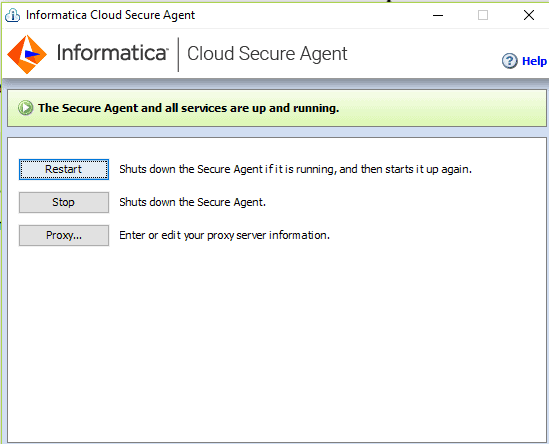
NOTE: It might take several minutes for the Secure Agent and all the services to be up and running for the first time.
The Informatica Cloud Secure Agent now shows that all services are up and running after few minutes.
Go to Administrator and click on Runtime Environments.
You should see your Secure Agent added under the Runtime Environments.

The Secure Agent can be renamed by clicking drop down on the left side.
Now you are all set with your Informatica Cloud (IICS) tutorial from Informatica University and environment to practice the lab exercises.
Happy learning!!


Useful information !
The information provided is a great starting point and easy to follow. Thanks for the documentation.
Thank you. Glad it helped!!